
The toilet seat cover is an indispensable part of every household toilet. However, with prolonged use, the toilet seat cover can also wear out and deteriorate. At this time, the toilet seat cover needs to be replaced with a new one. Want to install the toilet seat cover by yourself? Just follow the 6 simple steps below and you can easily complete the installation of the toilet seat cover!
Steps to Install a Toilet Seat Cover
1. Prepare tools and new toilet seat cover
- You need to prepare a Phillips screwdriver, measuring tape, and other tools, as well as purchase a new toilet seat cover according to the size and shape of the toilet. When choosing a toilet seat cover, you also need to pay attention to the shape of the toilet bowl itself.
- Tools required to install toilet seat cover


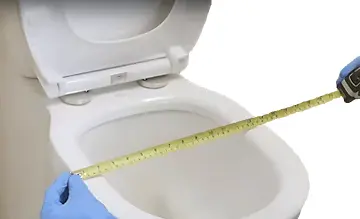
- Measure the size of the toilet seat cover. Usually the length (A), width (B) of the toilet seat cover and the distance between the two fixing holes (C) need to be measured. The fixing brackets of most toilet seat covers have a mechanism to adjust the distance to accommodate different toilets. How to measure the size of the toilet seat cover.

2. Remove old toilet seat cover
- Use a Phillips screwdriver to remove the screws fixing the old toilet seat cover, and carefully remove the old toilet seat cover.
3. Clean the toilet
- Use detergent and a brush to clean the location where the new toilet seat cover will be installed.
4. Install toilet seat cover bracket

- Lock the fixing screws of the new toilet seat cover bracket in the appropriate position on the toilet bowl. Position the fixing screws of the new toilet seat cover bracket in the appropriate position (do not fully tighten to allow for adjustment).

- Adjust the bracket according to the connecting position distance of the toilet seat cover.
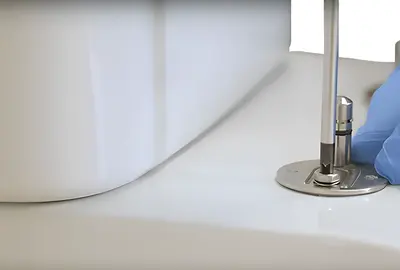
- Finally, tighten the adjusted bracket.
5. Install new toilet seat cover
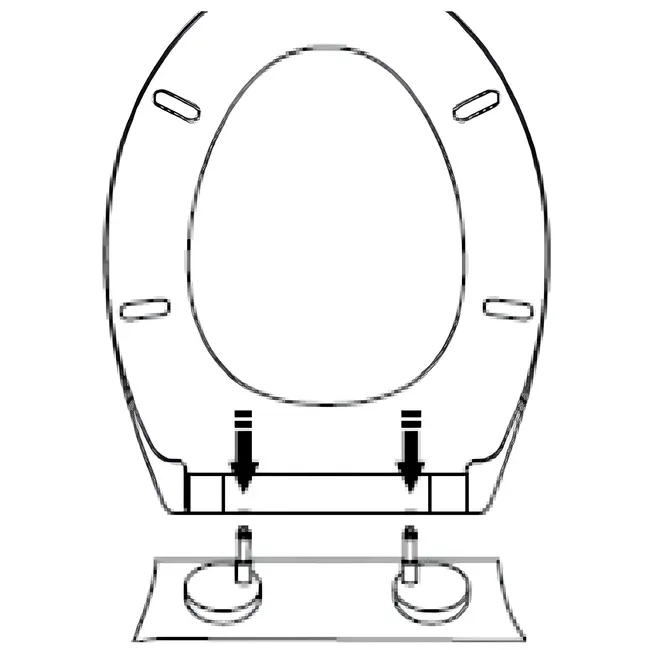
- Align the mounting holes of the new toilet seat cover with the fixing holes of the bracket, then use screws/other fixing mechanisms of the bracket itself to secure the toilet seat cover. Some toilet seat cover designs don’t even need screwing, just press or snap into place to install.
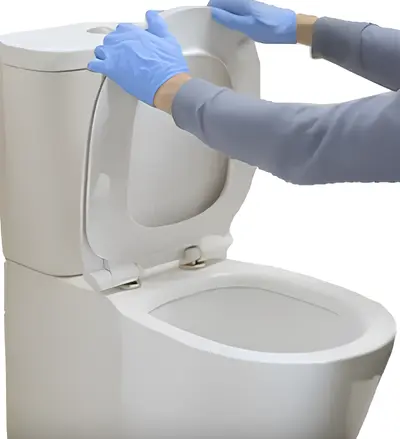
6. Check installation effect
- Gently twist and turn the toilet seat cover to check if the installation is secure and the toilet seat cover can flip smoothly.
By following the above 6 simple steps, you can successfully install a new toilet seat cover. If you encounter any difficulties during installation, it is recommended to seek help from a professional plumber.
Common Installation Issues
Q: What are the types and materials of toilet seat covers?
A: Toilet seat covers come in materials like plastic, wood, ceramic, and also have different shapes and colors. When choosing a toilet seat cover, consider the size, style of the toilet, and personal preference.
Q: How often does the toilet seat cover need to be replaced?
A: Depending on the frequency of use and extent of wear and tear. In general, if the toilet seat cover has cracks, discoloration, becomes loose, etc., it should be replaced in a timely manner.
Q: What precautions should be taken when installing a toilet seat cover?
A: Pay attention to the following when installing a toilet seat cover:
- Choose an appropriate toilet seat cover, it should match the size and shape of the toilet.
- Be careful when installing, do not use excessive force, to avoid damaging the toilet or toilet seat cover.
- After installation, check if the toilet seat cover is securely fixed and can be used normally.
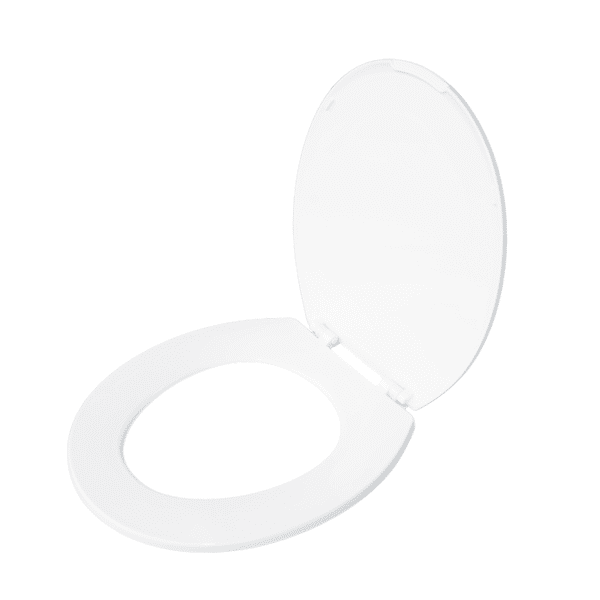
You are also welcome to check out our Plastic Toilet Seat Cover PSC-W01/PSC-B01!
