
Trap Installation Guide: How to Maintain Home Hygiene & Safety
Traps are common drainage system devices that prevent sewer gas backflow and maintain indoor air freshness and hygiene. Slow draining, rising water levels, or foul odors from your sink or basin could indicate a clogged or damaged trap. This not only affects home comfort, but also increases health risks from bacteria and viruses, especially during flu season or disease outbreaks. Maintaining home hygiene and safety is crucial.
In this guide, I’ll teach you how to replace or install a new trap yourself by following some simple steps, saving repair fees while improving home water quality and safety. I’ll also share some knowledge about bacteria, viruses, and the importance of regular trap maintenance and inspection for proper drainage. Let’s get started!
Next, let me make a list of steps to better structure the content and help search engines identify and index:
Bottle Trap Installation Steps
—
# Before removing trap or pipe, prepare bucket to collect any remaining sewage.

# Bottle Trap Installation
## Step 1: Adjust trap tailpiece length


## Step 2: Align tailpiece with sink/basin drain hole, then tighten


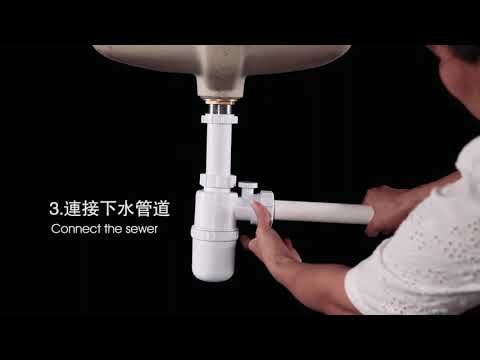
## Step 3: Connect trap to drainage system


Congratulations, trap installed!
You may also be interested in this article. More importantly, check out our trap products LE106 and LE107!