
Shower Slider Rail are a modern bathing fixture that lets you enjoy different spray modes like rain, massage, waterfall, etc. in the bathroom. A shower column usually consists of a shower head, shower arm, soap dish, and faucet installed on a metal or plastic column for easy height and angle adjustment. Shower columns not only enhance your shower experience but also save water and space while adding aesthetics to your bathroom.
Shower Slider Rail Installation Steps Overview
How to Install a Shower Column Yourself
- Pencil: To mark shower column base location on the wall.
- Hammer drill: To drill holes in the wall for wall plugs.
- Screwdriver: To secure screws into wall plugs and fasten shower column base.
Step 1: Mark Shower Column Base Location


Step 2: Drill Holes and Insert Wall Plugs


Step 3: Secure the Shower Column Base


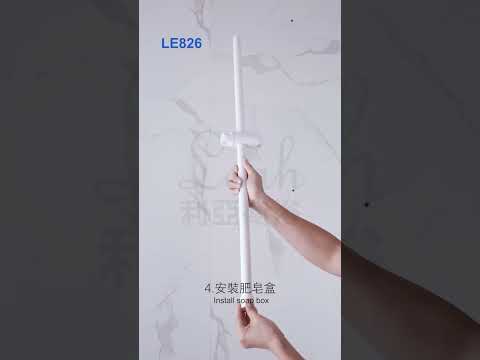
Step 4: Install Soap Dish and Adjust Height/Angle

Step 5: Insert Column into Base and Tighten


Step 6: Check Column Stability

Done!
Check out our own Shower Column LE826!