Shower Faucets are an indispensable part of our daily lives. They allow us to adjust water flow and temperature for a comfortable bathing experience. However, faucets can age, break down or leak over time. When this happens, we need to replace or repair the faucet ourselves. If you want to learn how to replace or repair a shower faucet, this article is for you. We will walk you through installing a high quality shower faucet to give your bathroom a brand new look.
In this article, you will learn:
- Shower faucet installation steps and precautions
- Shower faucet usage and maintenance
Let’s get started!
Shower Faucet Installation Steps
Shower Faucet Usage and Maintenance
To keep your shower faucet working smoothly for a long time, pay attention to the following usage and maintenance tips:
- When using:
- Avoid using extremely hard or hot water when using the shower faucet to prevent damage to valve cores and surface finish
- Avoid using excessive water pressure to prevent bursting or leaking
- Do not use acidic or alkaline cleaners which can corrode the faucet surface
- Maintenance:
- Wipe faucet surface with a soft cloth or sponge after each use to prevent mineral buildup
- Use a mild, neutral cleaner when deep cleaning the faucet, rinse off and wipe dry
- Turn off shut off valves when faucet is not in use to reduce pressure and wear
We hope this guide will help you install and maintain your shower faucet properly. Let us know if you have any questions or feedback!

Shower Faucet Installation Steps:
0. Unpack the included installation accessories

1. Prepare tools
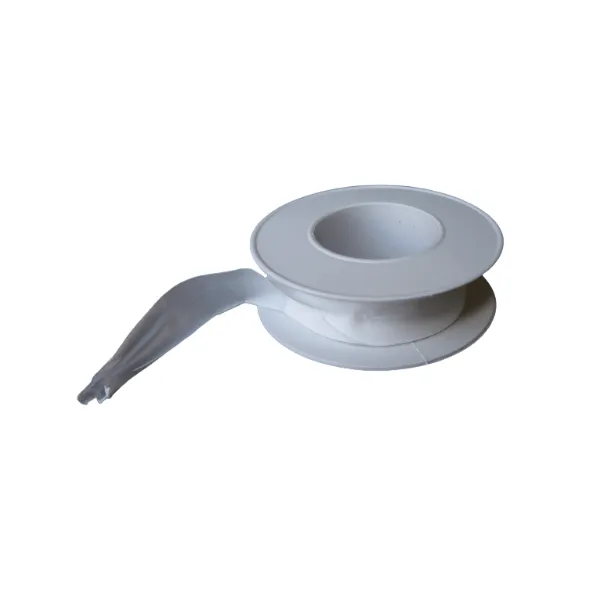
- Tools: Wrench, plumbers tape
- Parts: Faucet, eccentric connectors, escutcheons, gaskets, nuts, faucet seals, elbows/angle stops/eccentric screws


2. Remove existing faucet
- Turn off water supply valves before removing existing faucet to prevent water from gushing out.
- Use proper tools (wrench) to remove existing faucet by reversing installation steps.
3. Wrap plumbers tape around eccentric connectors and connect to hot/cold water pipes


4. Adjust spacing between eccentric connectors to align with faucet mounting holes

5. Slide escutcheons over connectors and tighten flush against wall

6. Place gaskets at faucet inlets, use wrench to tighten nuts and secure faucet to wall


7. Congratulations, you have successfully installed the faucet!
Check out our faucet series too!
